Getting Started
Learn how to use Signic with these step-by-step tutorials
Connect Your Wallet
Start by connecting your Web3 wallet. Signic supports multiple wallets including MetaMask, Keplr, Phantom, and WalletConnect. Choose between Ethereum and Solana networks based on your preference.

Tips
- Make sure your wallet extension is installed and unlocked
- You can switch between Ethereum and Solana networks
- WalletConnect allows you to connect mobile wallets
Verify Your Wallet
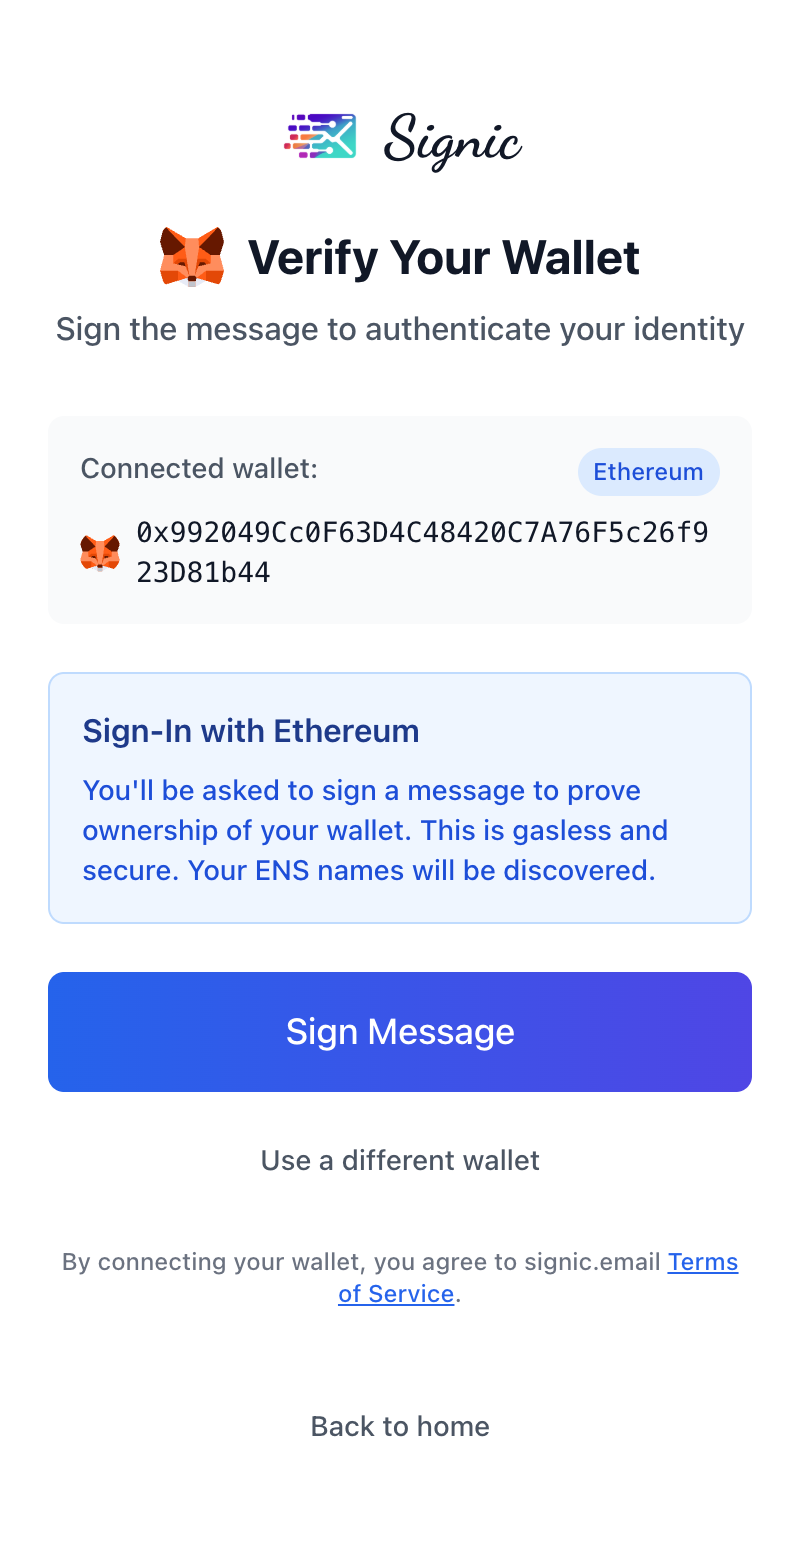
After connecting, you'll need to verify ownership of your wallet by signing a message. This is completely gasless and secure - it simply proves you own the wallet address. Your ENS names will be automatically discovered during this process.
Tips
- Signing the message does not cost any gas
- This proves ownership without exposing your private key
- ENS names associated with your wallet will be detected automatically
Mails Interface
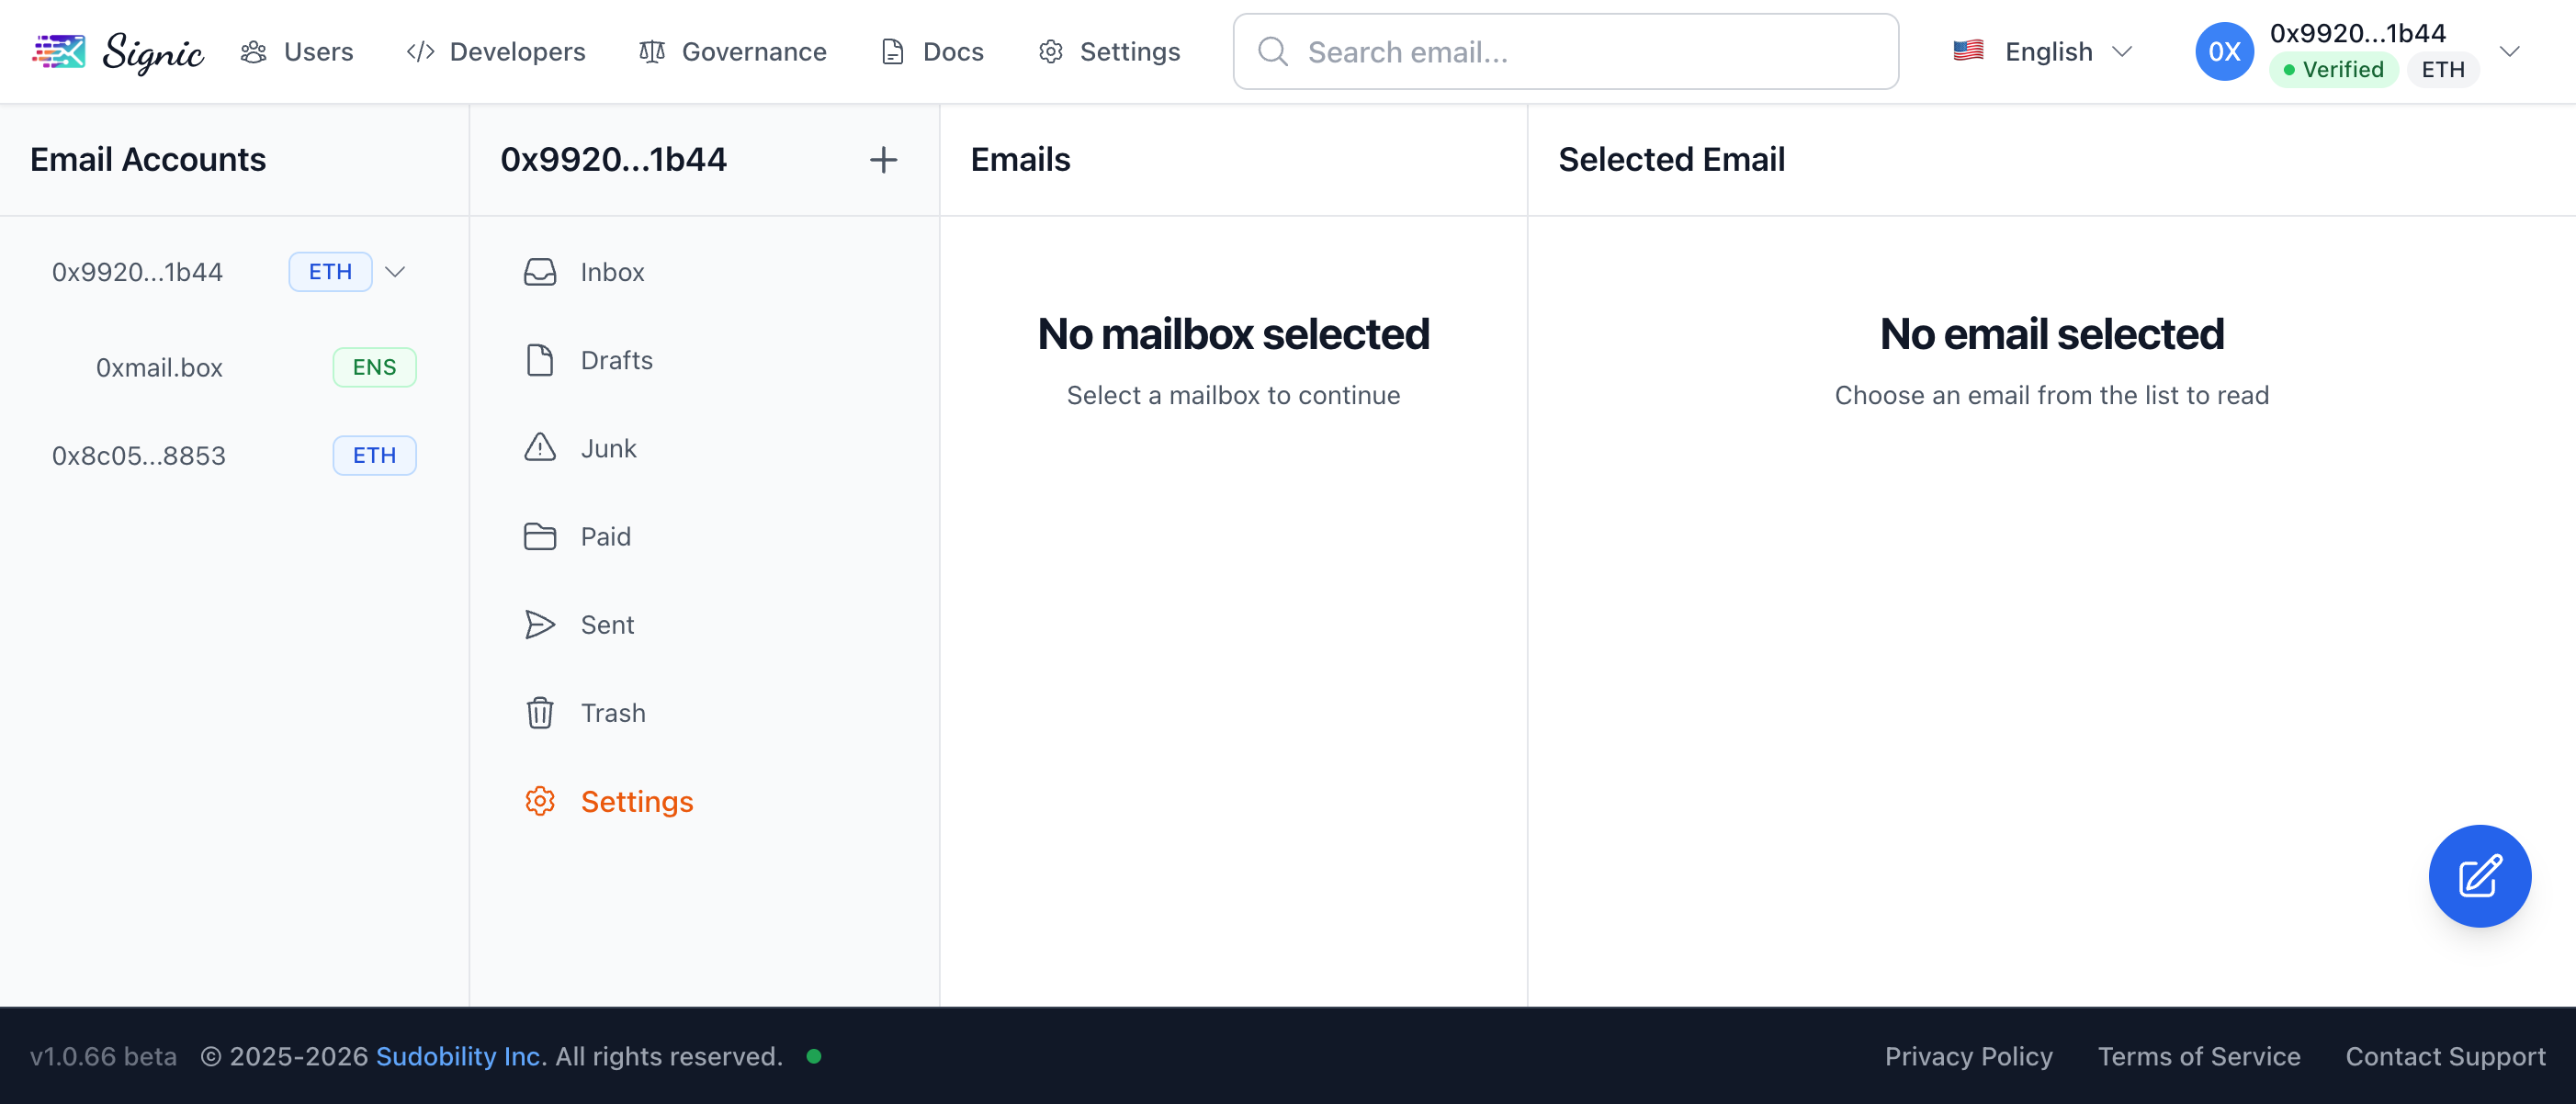
Once verified, you'll see the main email interface. The layout shows your email accounts on the left, mailbox folders in the middle, and email content on the right. Use the search bar to find specific emails quickly.
Tips
- Click on any email account to see its mailboxes
- Standard folders include Inbox, Drafts, Junk, Paid, Sent, and Trash
- Use the compose button to write new emails
ENS & Delegated Addresses
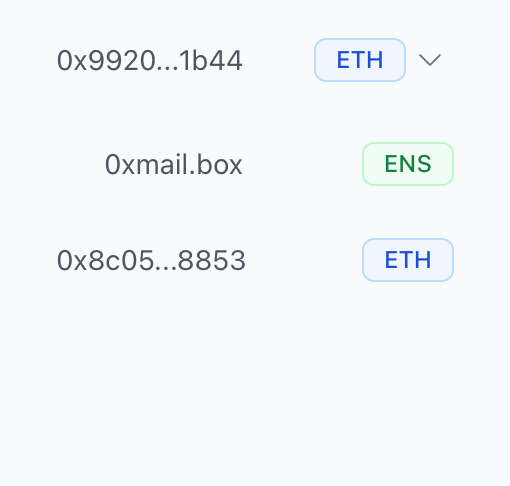
Your email accounts panel shows different types of addresses. Wallet addresses display with an ETH badge, ENS names show with an ENS badge, and delegated wallets are also listed. Each provides a unique email address you can use.
Tips
- ENS names give you human-readable email addresses
- Delegated addresses allow others to access emails on your behalf
- You can have multiple email addresses from different sources
Browse Mailboxes
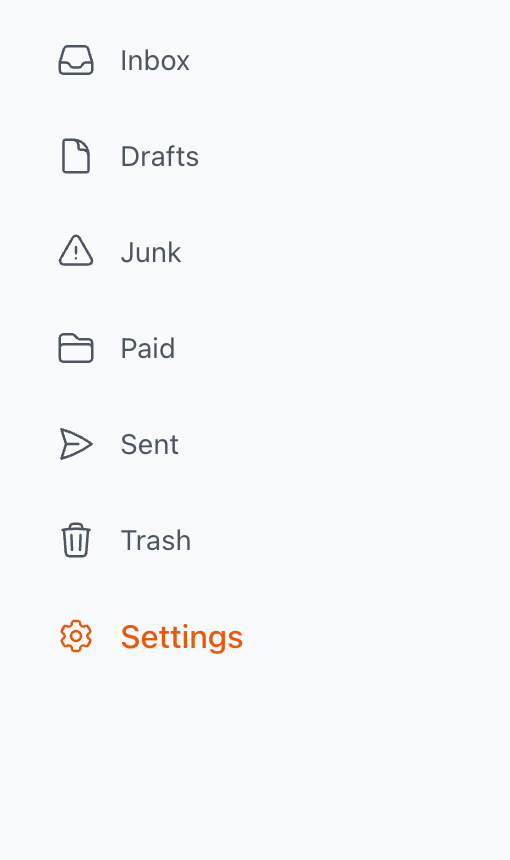
Each email account has standard mailbox folders. Click on any folder to view its contents. Access the Settings option to configure how each email address behaves.
Tips
- Inbox contains your incoming emails
- Paid folder stores emails that required payment to receive
- Click Settings to configure email-specific options
Settings Overview
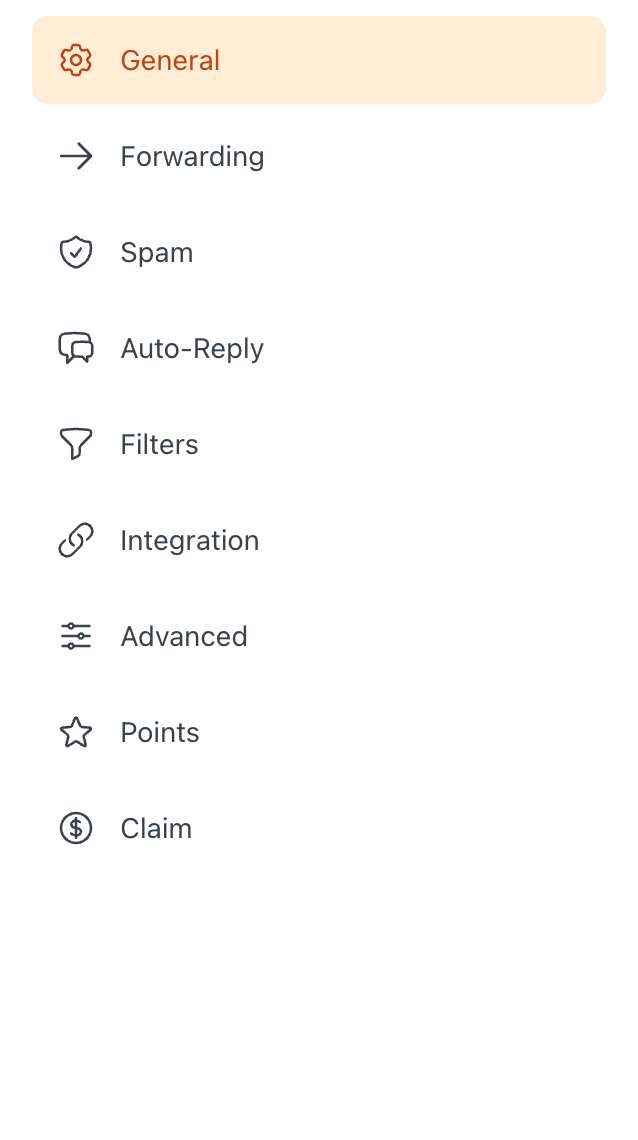
The Settings panel provides comprehensive control over your email account. Configure general settings, forwarding, spam filtering, auto-reply, filters, integration with other email clients, and advanced options.
Tips
- Each setting category has its own dedicated panel
- Points and Claim options are available for rewards
- Settings are saved per email address
General Settings
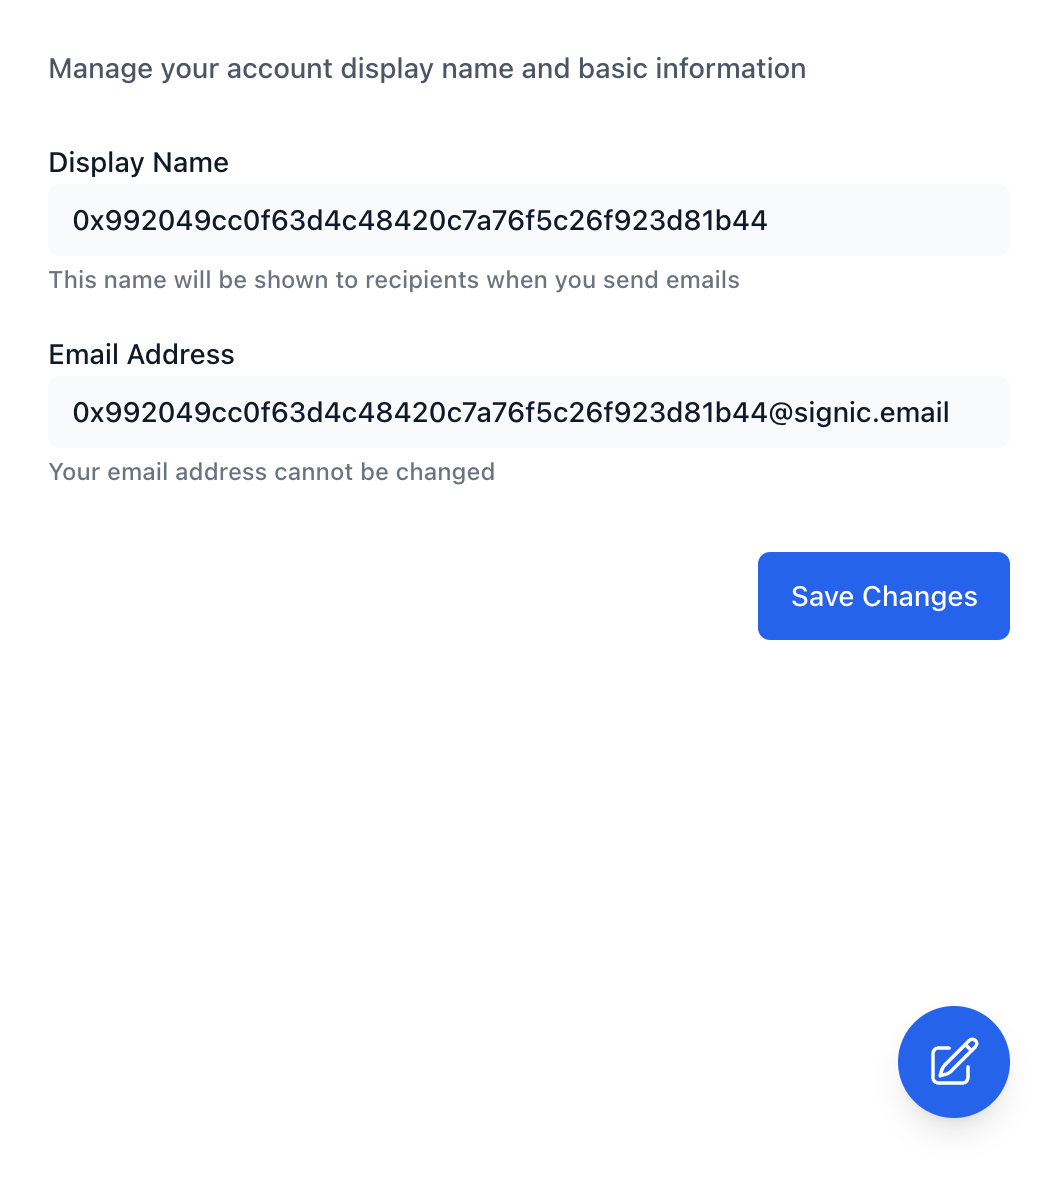
In General settings, you can change your display name that recipients see when you send emails. Your email address itself cannot be changed as it's derived from your wallet or ENS name.
Tips
- Display name appears in the 'From' field of your emails
- Choose a name that helps recipients identify you
- Click Save Changes after updating your display name
Forwarding Settings
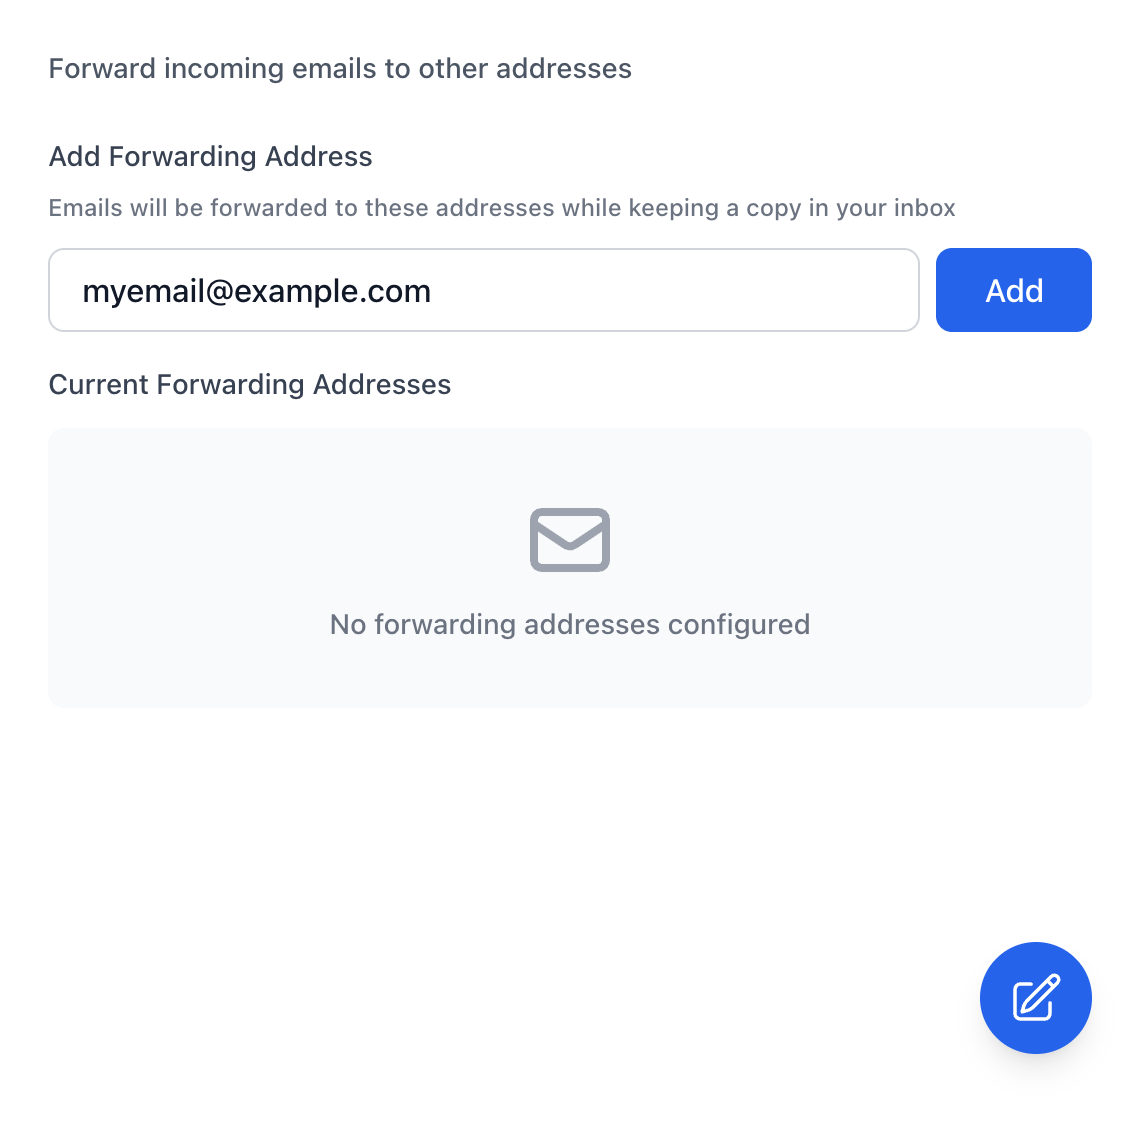
Set up email forwarding to automatically send copies of incoming emails to other addresses. This is useful for integrating with your existing email workflow. Emails will be forwarded while keeping a copy in your inbox.
Tips
- Add multiple forwarding addresses if needed
- Forwarded emails retain their original sender information
- You can remove forwarding addresses at any time
Spam Protection
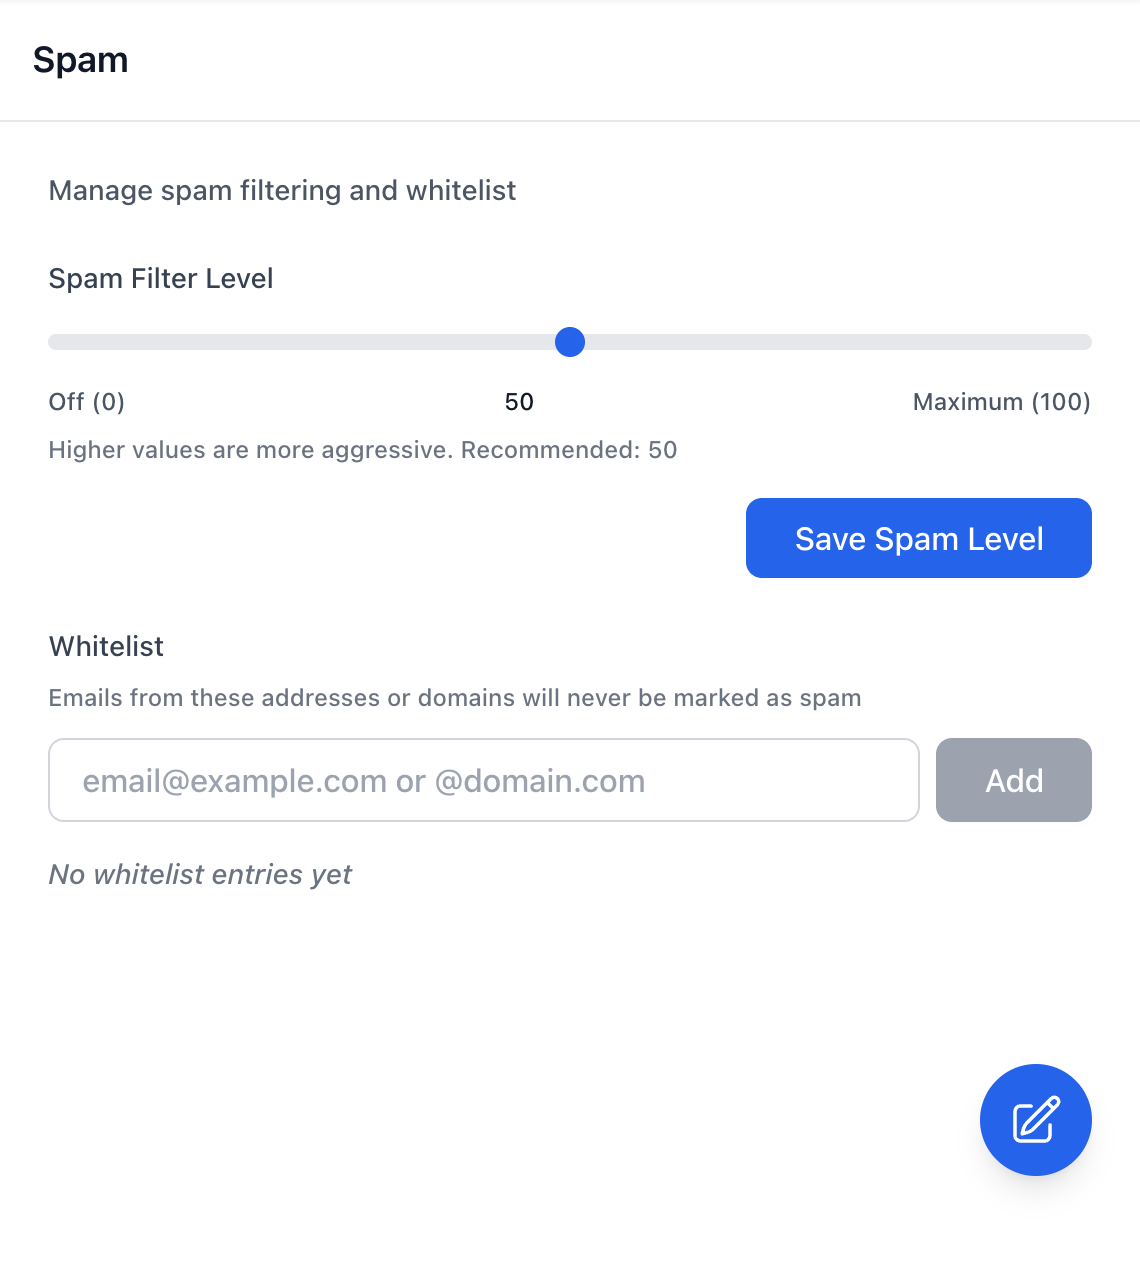
Configure spam filtering to protect your inbox from unwanted emails. Adjust the spam filter level from 0 (off) to 100 (maximum). The recommended level is 50. You can also whitelist specific addresses or domains to ensure their emails always reach your inbox.
Tips
- Higher values mean more aggressive spam filtering
- Whitelist important senders to prevent false positives
- Check your Junk folder periodically for misclassified emails
Auto-Reply
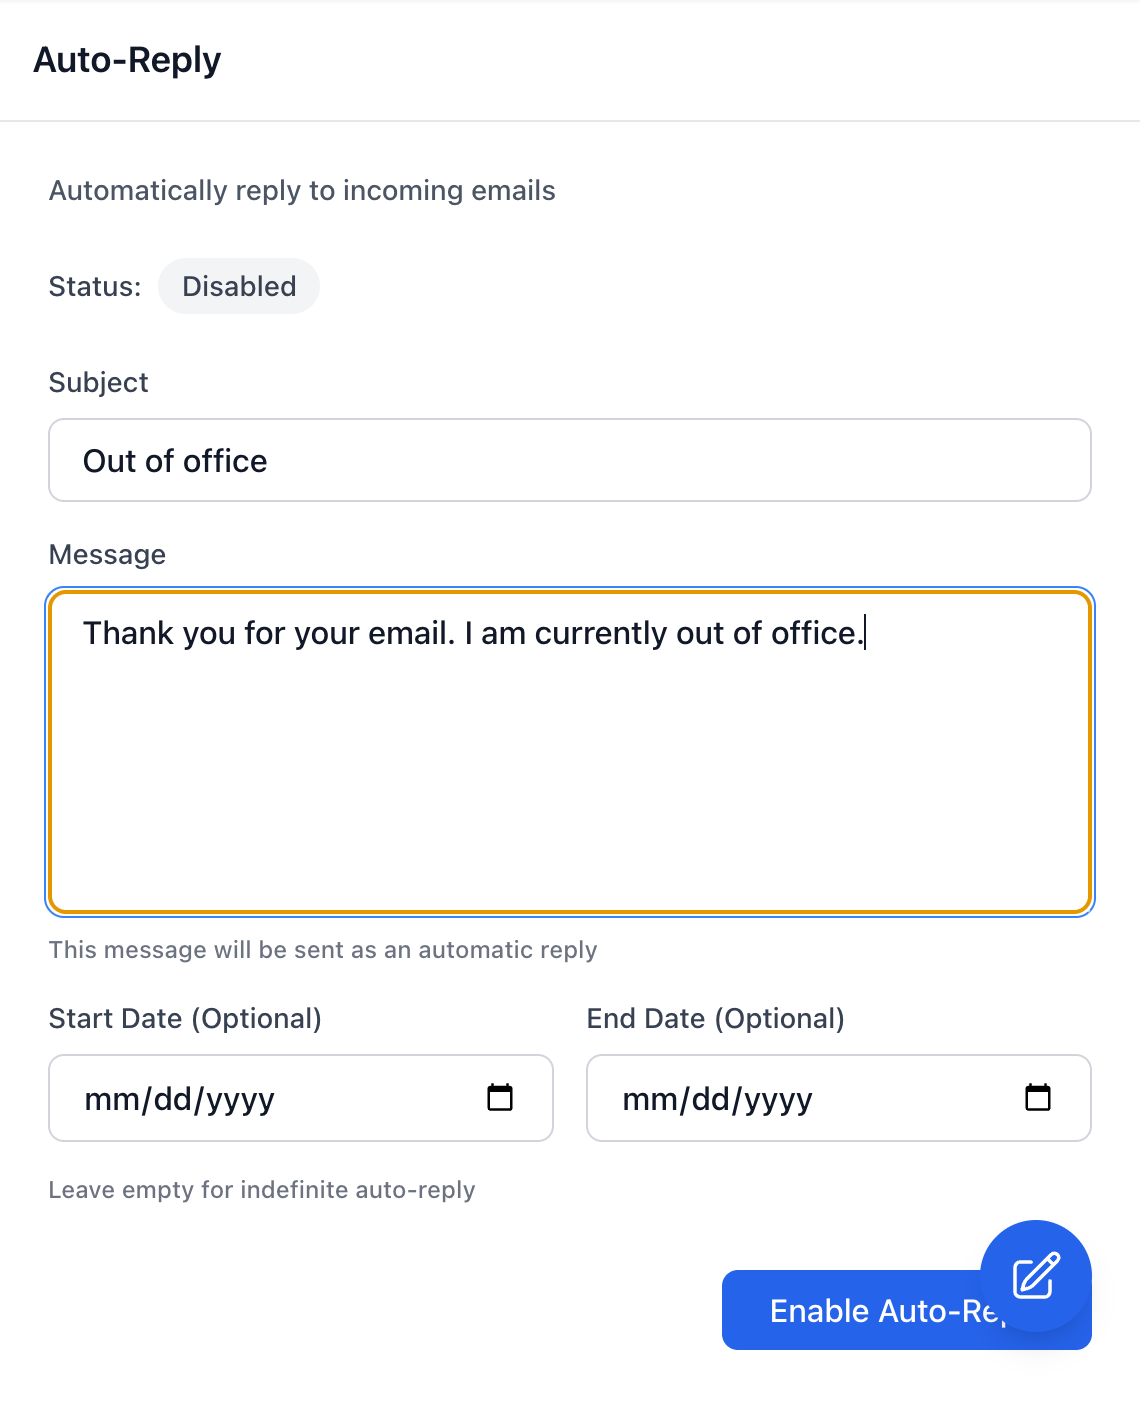
Set up automatic replies for when you're unavailable. Configure a custom subject and message that will be sent to anyone who emails you. Optionally set start and end dates for the auto-reply period, or leave empty for indefinite auto-reply.
Tips
- Great for vacation notices or out-of-office messages
- Leave dates empty for always-on auto-reply
- Enable/disable with a single button click
Email Filters
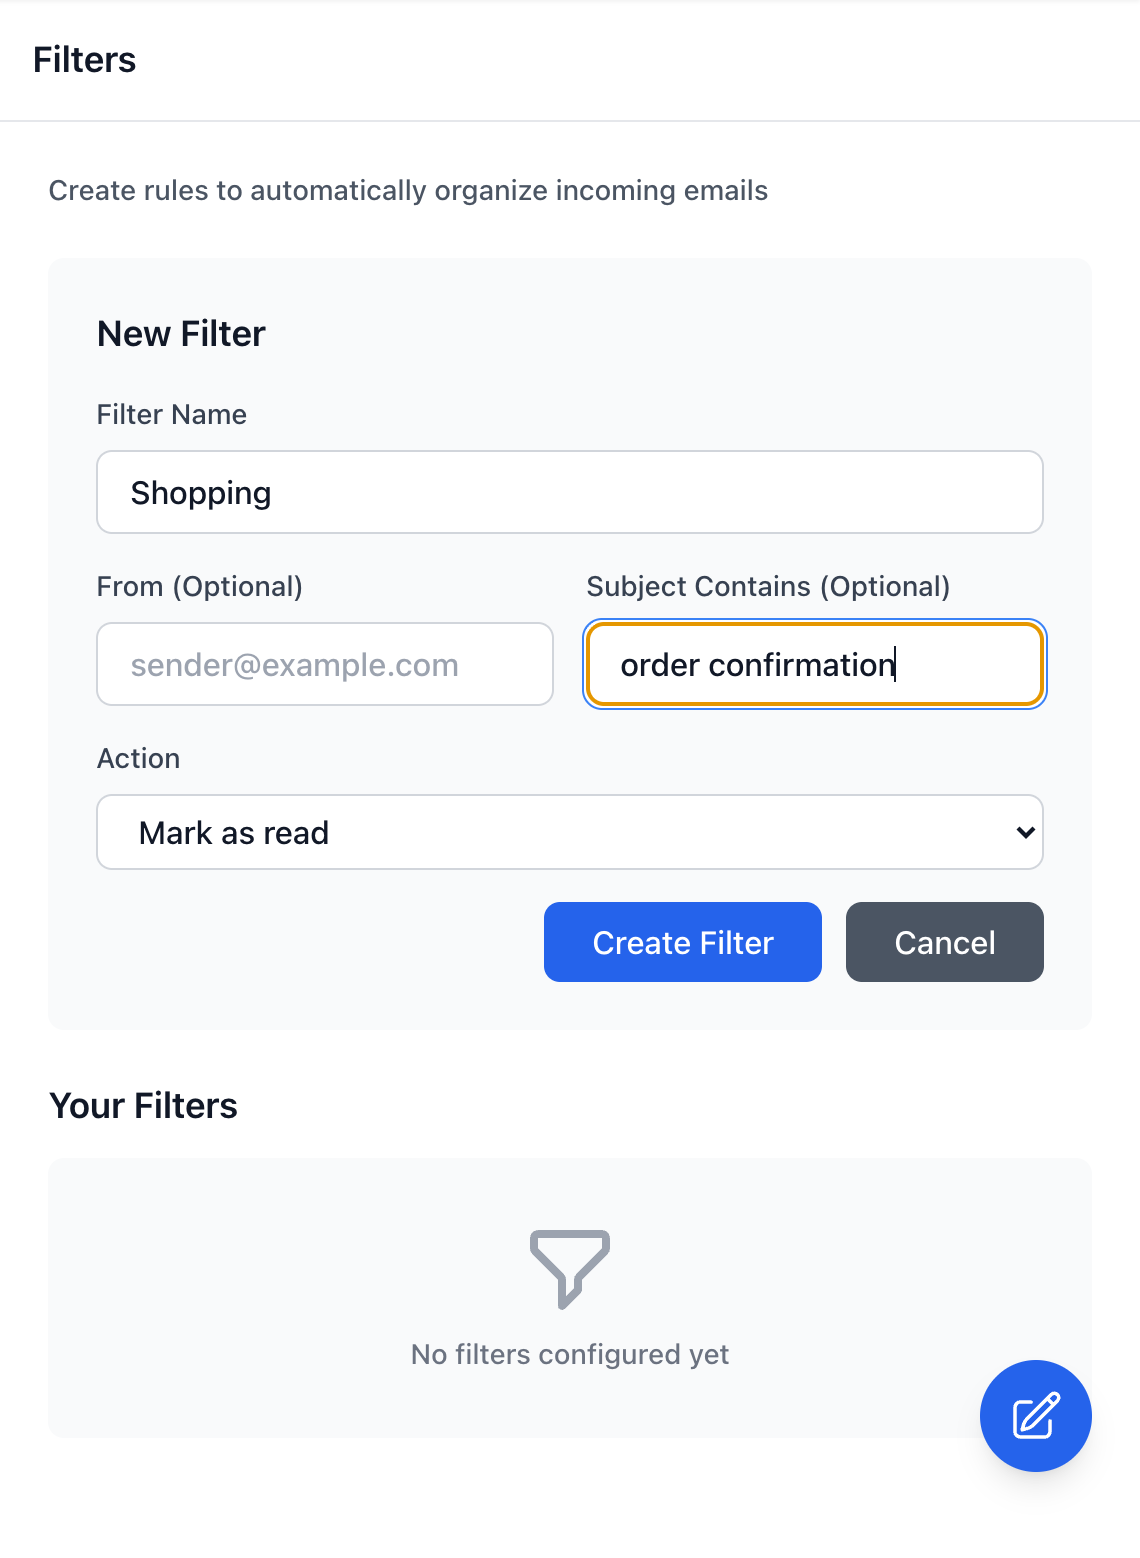
Create custom rules to automatically organize incoming emails. Filters can match emails by sender address or subject content, then perform actions like marking as read, moving to folders, or applying labels.
Tips
- Combine From and Subject filters for precise matching
- Actions include Mark as read, Move to folder, and more
- Filters are processed in order - first match wins
Email Client Integration
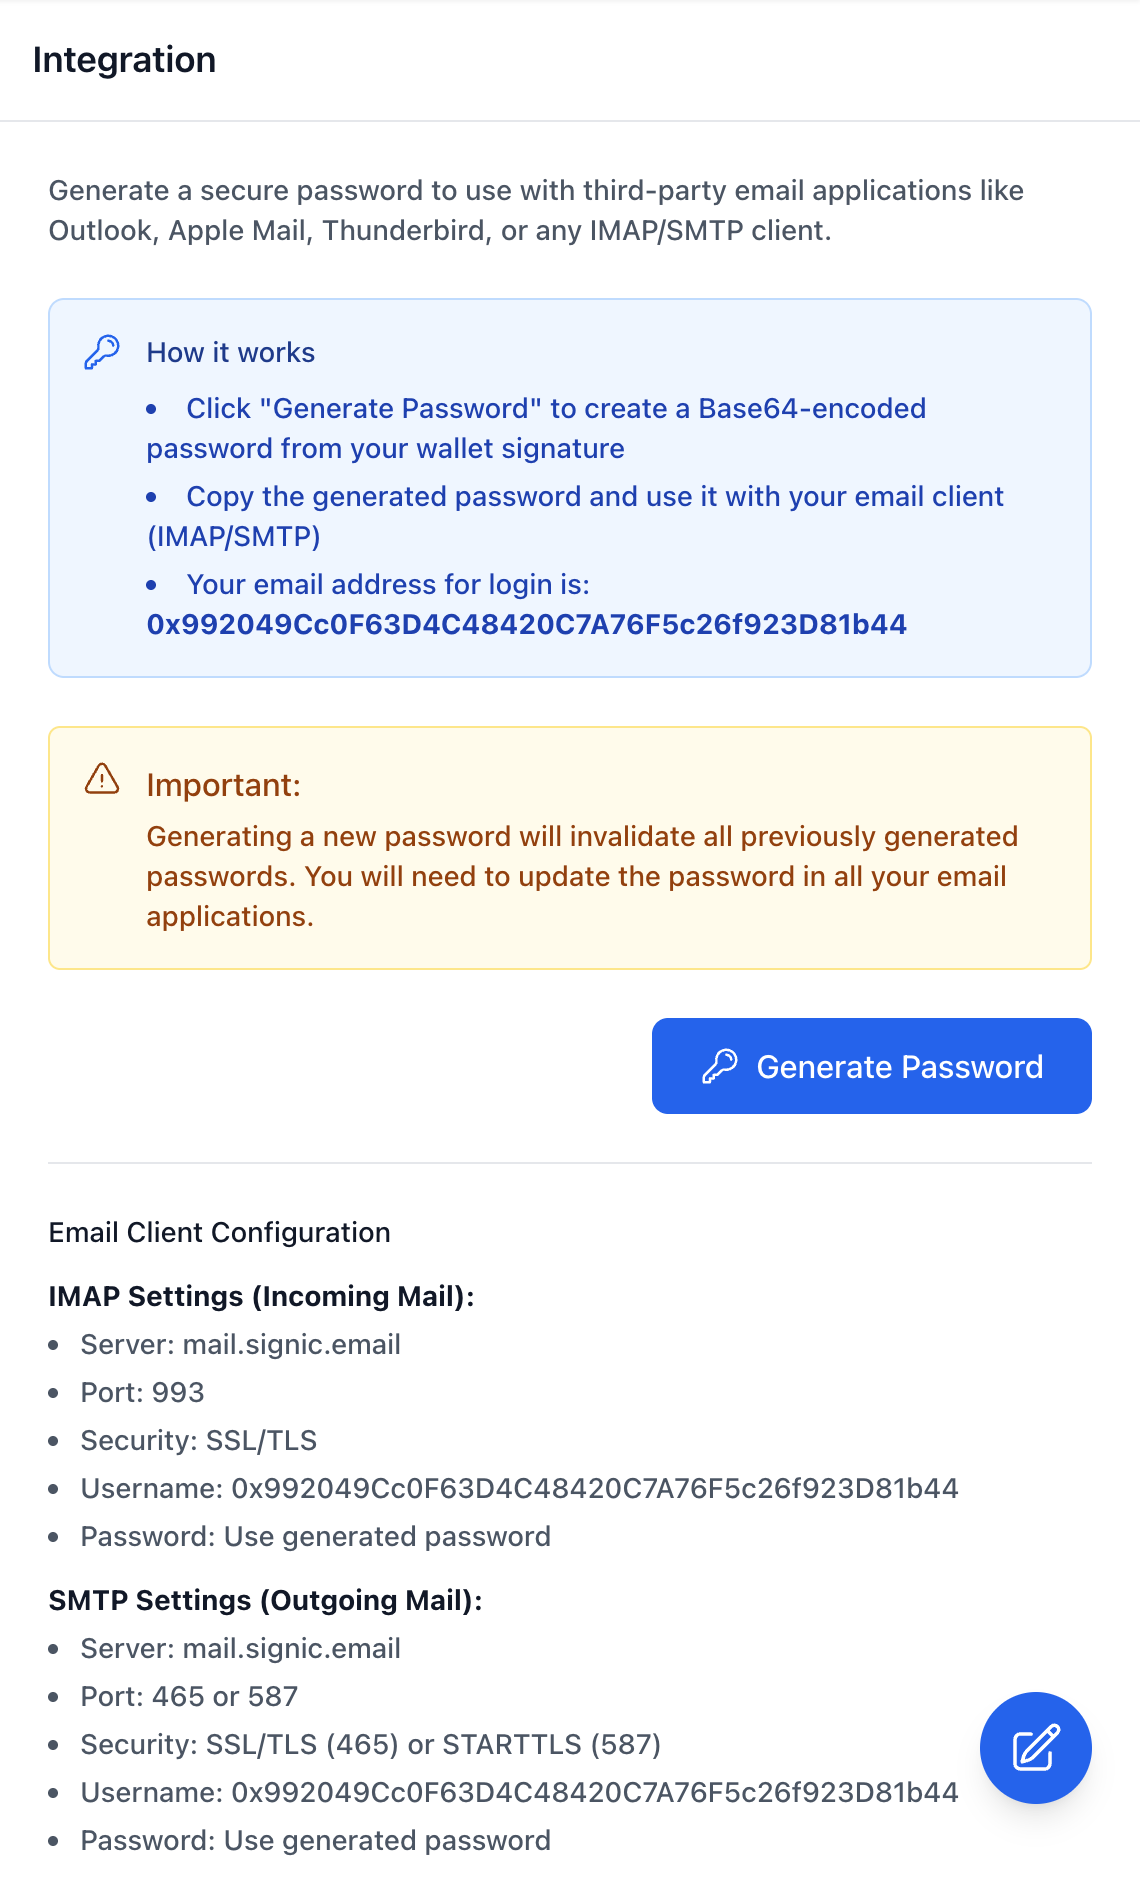
Connect your Signic email to external email clients like Outlook, Apple Mail, or Thunderbird using IMAP/SMTP. Generate a secure password by signing with your wallet - this password is used instead of your private key for email client authentication.
Tips
- Password is generated from your wallet signature
- Use the provided IMAP and SMTP server settings
- Generating a new password invalidates previous ones
Advanced Settings
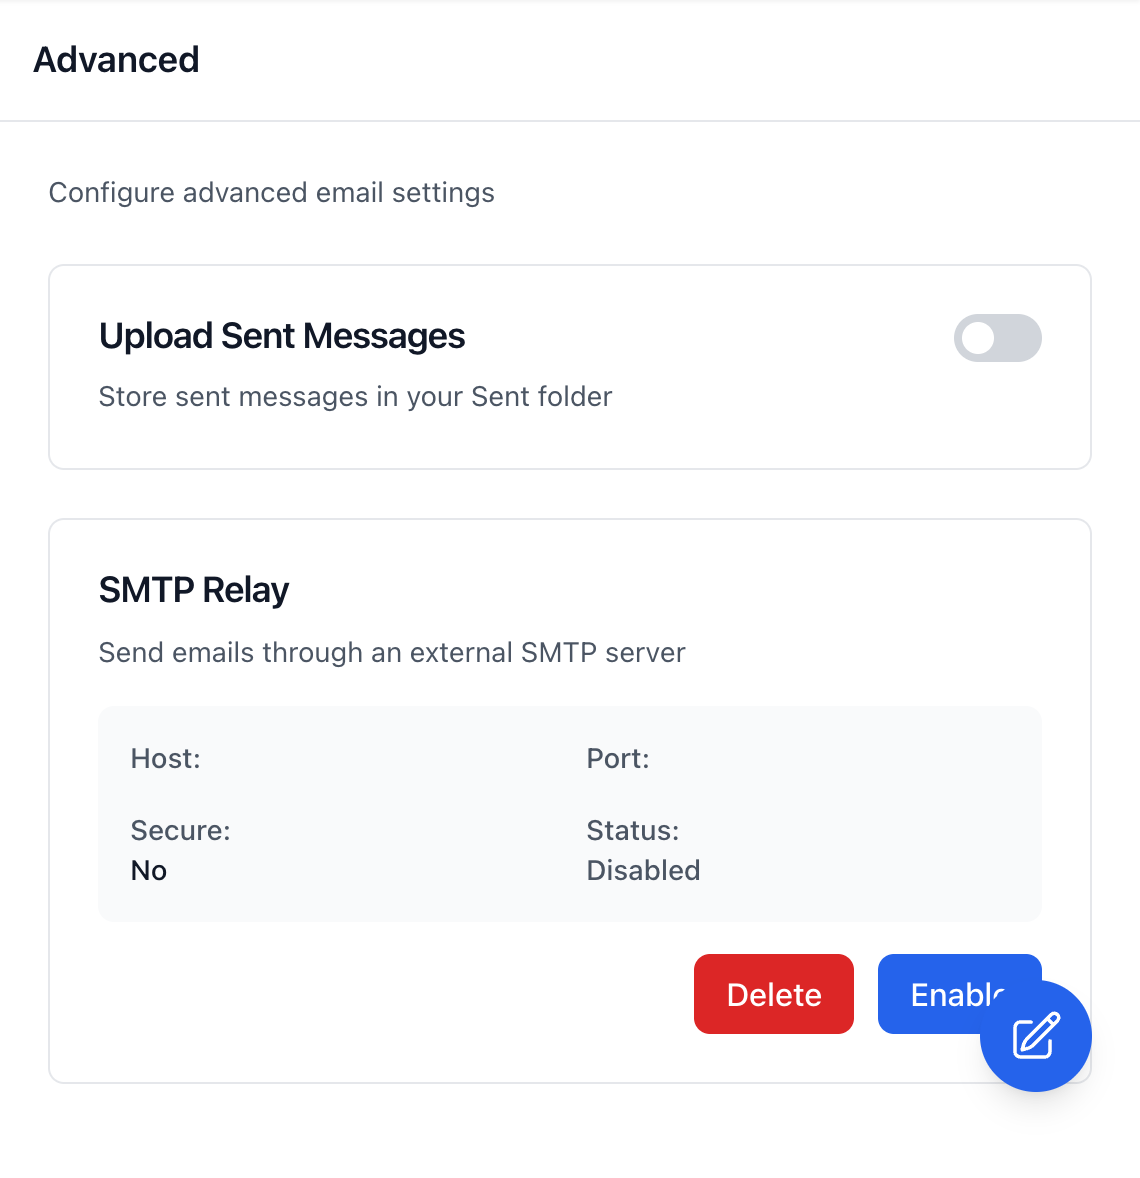
Advanced settings include options like uploading sent messages to your Sent folder when using external email clients, and configuring SMTP relay for sending emails through an external server.
Tips
- Enable 'Upload Sent Messages' for complete email history
- SMTP Relay is for advanced users with custom email infrastructure
- Most users don't need to change advanced settings